How To Use the Multisonic Snare Drum: A Snare System Tutorial
- Nathan Coles
- Aug 15, 2025
- 4 min read

How to use the Multisonic Strainer System to make informed, nuanced musical decisions.
When most students think about improving their playing, they focus on sticks, strokes, and technique drills. But here’s the truth: your sound starts long before the first note leaves your hands. Professional percussionists know that how you configure your snare drum can make or break a performance. In this guide, we’ll explore how to use the Multisonic snare drum, helping you think beyond mechanics and start making intentional, musical sound choices.
Table of Contents
Don’t miss a post—sign up for the Black Swamp Newsletter
Why Musical Choices Matter More Than You Think
In orchestral playing, you can execute every note perfectly and still leave the audience unmoved if your sound doesn’t fit the moment. The Multisonic snare drum empowers you to match your drum’s voice to the room, repertoire, and conductor’s vision. This isn’t about showing off a fancy piece of hardware, it’s about unlocking the right sound at the right time.
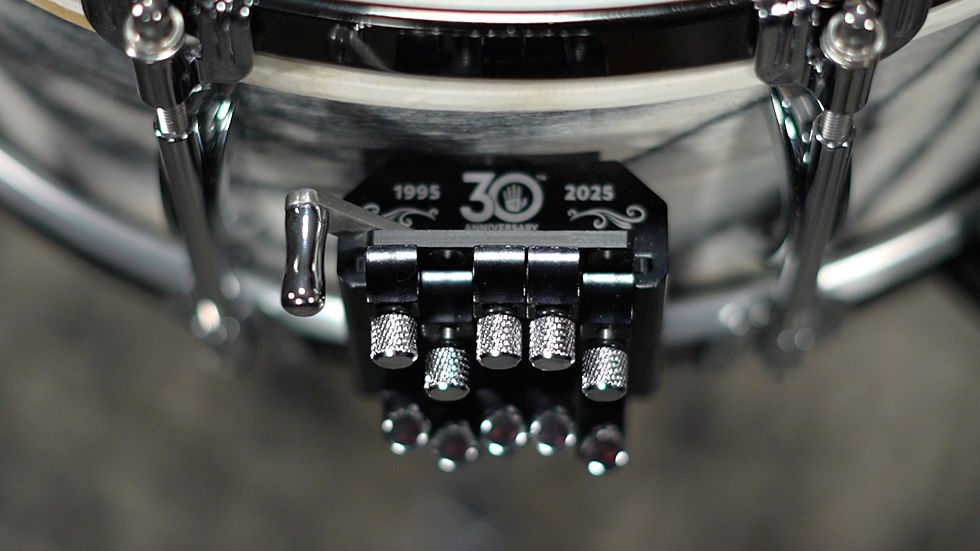
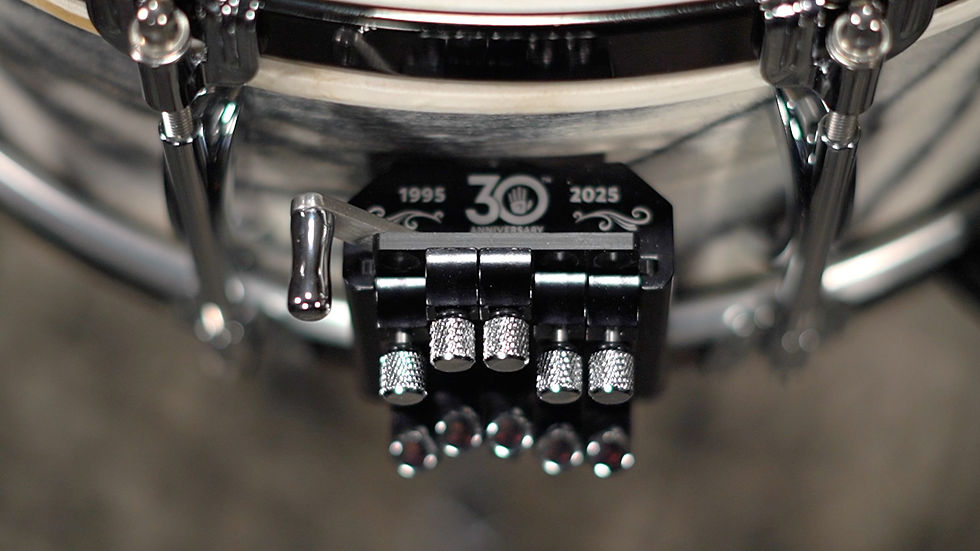
Understanding the Multisonic Strainer System
At its core, the Multisonic snare system lets you control five different cable snare units independently. By selectively engaging or disengaging them, you can tailor the drum’s character in seconds, without awkward mid-performance adjustments.
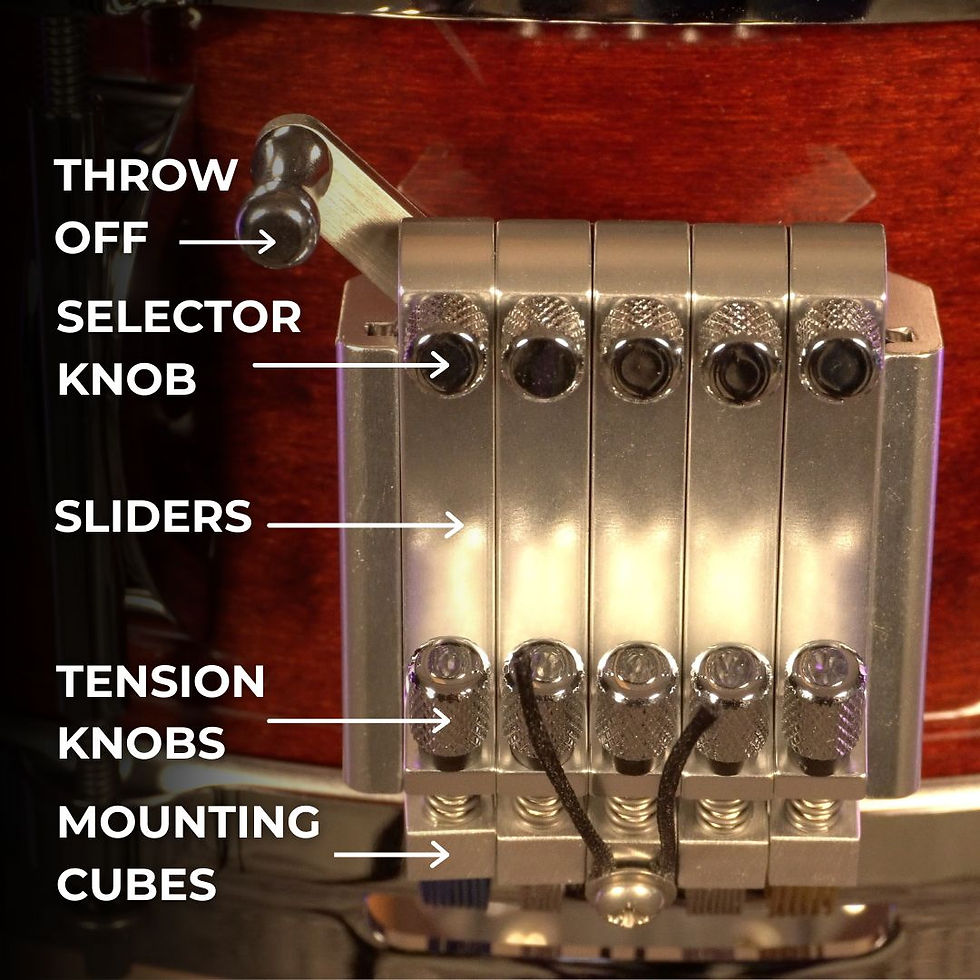
Sliders engage or disengage individual cables.
Tension knobs fine-tune each cable’s sensitivity.
Throw-off lever activates all selected cables at once.
Mounting Cubes hold the cable snare wires to the strainer.
Master tension control on the butt side adjusts all five cables together.
Cable Theory: Choosing the Right Voice for the Moment
Think of each cable type like a different section of an orchestra: some shine at soft, delicate moments, while others command attention in loud passages.

Cable Type | Sound Character | Best Dynamics | Musical Uses |
Blue (Nylon-coated Steel) | Dry, short | Medium–Loud | Crisp marches, bright accents |
Gold (Thicker Nylon-coated Steel) | Dark, throaty | Loud | Full-bodied, roaring climaxes |
Stainless Steel (6 & 8 Strand) | Bright, resonant | Soft–Medium | Clear articulation in intimate passages |
Wire Wound (Center) | Unique, subtle | Soft | Transparent, whisper-quiet textures |
Recommended Settings and What They Mean Musically
General Use – Balanced tone for most repertoire: 8BMS + 5WMS + 8SMS
Dry & Throaty – Power for high dynamics: 8BMS + 6GMS
Bright & Delicate – Precision for quiet playing: 8SMS + 5WMS + 6SMS
These settings are only scratching the surface of what is possible with this system. Experiment, and see what options work best for you, your venue, and the music you are performing. Always disengage the throw-off before changing configurations—your section mates will thank you.

Replacing Cable Snare Wires on the Multisonic Snare Drum
The Multisonic snare system is built to last, but understanding how to maintain your drum is very important. Knowing how to replace cable snare wires is a key part of keeping your drum sounding its best. Here’s a step-by-step guide to changing cables without damaging the system or losing any small components.
Preparation
Before you begin:
Work on a clean, flat surface with good lighting.
Have a Phillips head screwdriver ready.
Keep a small parts tray handy—there are screws and washers you do not want rolling away.
Step 1 – Position the Drum
Flip the drum upside down so the snare (bottom) head is facing upward. This prevents small parts like the springs and washers from getting lost.
Step 2 – Disengage the Throw-off
Move the throw-off lever to the “off” position. This releases tension from all five cables and ensures you won’t accidentally bend or stress any components while removing one.
Step 3 – Release Individual Tension
Locate the tension adjustment knob for the cable you want to replace. Loosen until the mounting cube at the base of the slider is free. This isolates and loosens just that cable without affecting the others.
Step 4 – Remove the Cable from the Butt Side
On the opposite side (the butt plate), locate the small button head screw securing the cable’s mounting tab. Using your Phillips head screwdriver, remove the screw and set it aside in your parts tray. The cable is now completely detached from the drum.
Step 5 – Remove the Cable from the Strainer Side
With the mounting cube free and the butt side tab unmounted, gently slide the cable out of the snare gate on the strainer side.
Special Note: Wire-Wound Center Cable
The center wire-wound cable is mounted differently. Instead of a tab and screw, it uses mounting cords tied beneath a washer. To remove:
Slightly loosen the button head screw (don’t remove it completely).
Slide the cord loops out from under the washer.
Remove the cable snare
Final Reflection: Shaping Your Sound Story
Every choice you make as a percussionist tells a story. With the Multisonic snare drum, you’re not just reacting to the music, you’re shaping it. The more you understand your instrument’s voices, the more convincingly you can speak through them. Take the time to explore, experiment, and make each sound an intentional part of your musical identity.

Comments