
How to Build Limb Independence Without a Full Drum Set (Part 1 of 4)

Build limb independence and make smarter musical choices with a compact, low-volume practice setup.
Transitioning between the marching field, the drum set, and multi-percussion setups requires more than just fast hands. True musical versatility comes from total body control, starting from the ground up. In this guide, we dive into creative, accessible ways to bridge the gap between your hands and feet without needing a massive room or an expensive instrument array.
Table of Contents
New Lessons Every Friday! Sign up for the Black Swamp Newsletter.
Meet Your Instructor

Welcome to the first lesson in a four-part series that aims to reshape your hand/foot coordination.
Dr. Brad Meyer, the Associate Professor of Percussion at Stephen F. Austin State University, is a premier Black Swamp educator, international artist, and composer who has the elite academic pedigree to back up his world-class teaching. He anchors his extensive instructional and clinic background with a Doctor of Musical Arts in Percussion Performance (plus a Pedagogy of Music Theory Certificate) from the University of Kentucky, as well as a Master of Music Performance from the University of South Carolina. Merging these advanced degrees with vast experience in global percussion traditions, elite drum corps leadership, and published compositions, Dr. Meyer delivers an exceptionally well-rounded, academically grounded education to the next generation of percussionists.
The Strategy Behind a Low-Volume Setup
When students want to improve their multi-limb independence, they often assume they need hours of access to a full drum set or a massive multi-percussion rig in a university band hall. The reality of student life (dorm rooms, apartments, late-night study hours) makes that difficult.
The secret to consistent progress is building your own setup that is quiet, inexpensive, and enjoyable to play on.
Many students resort to patting their hands on their thighs to practice foot-and-hand patterns. While this works in a pinch, it lacks tactile satisfaction and fails to build accurate muscle memory. By using small acoustic instruments like woodblocks or castanets, you get actual acoustic feedback. If noise is a major concern, you can easily dampen accessories like wood blocks by inserting a small piece of foam or a small folded towel into the sound slot. This keeps your practice apartment-friendly while preserving the physical sensation of striking an instrument.
A New Way to Think About hand-foot coordination
Great percussion playing is about making intentional musical decisions. When you work on hand-foot coordination, you are training your brain to compartmentalize different rhythms simultaneously.
Instead of mindlessly drilling patterns, focus on the relationship between the steady pulse of your lower limbs and the shifting rudimental textures in your hands. Start by establishing a rock-solid quarter-note pulse with your right foot. Once that baseline is completely automatic, introduce basic sixteenth-note variations with your hands:
Alternating Singles: Keep the strokes perfectly even over the foot pulse.
Double Strokes: Pay close attention to the space between the notes so the doubles do not crush together.
Paradiddles: Notice how the shifting accents interact with the steady downbeat of your foot.
Marching Accent Patterns: Isolate how different accented partials pull against or lock in with the lower-limb pulse.
Once your right foot feels stable, switch the entire routine to your left foot. To take the exercise further, engage both feet at the same time while executing complex rudiments like flam accents on top.
Recommended Resources


Download the free companion PDF worksheet 👇
To find an endless supply of patterns to layer over your foot ostinatos, look no further than the classic book Stick Control by George Lawrence Stone. Applying these traditional hand patterns over a steady foot pulse completely recontextualizes the classic exercises.
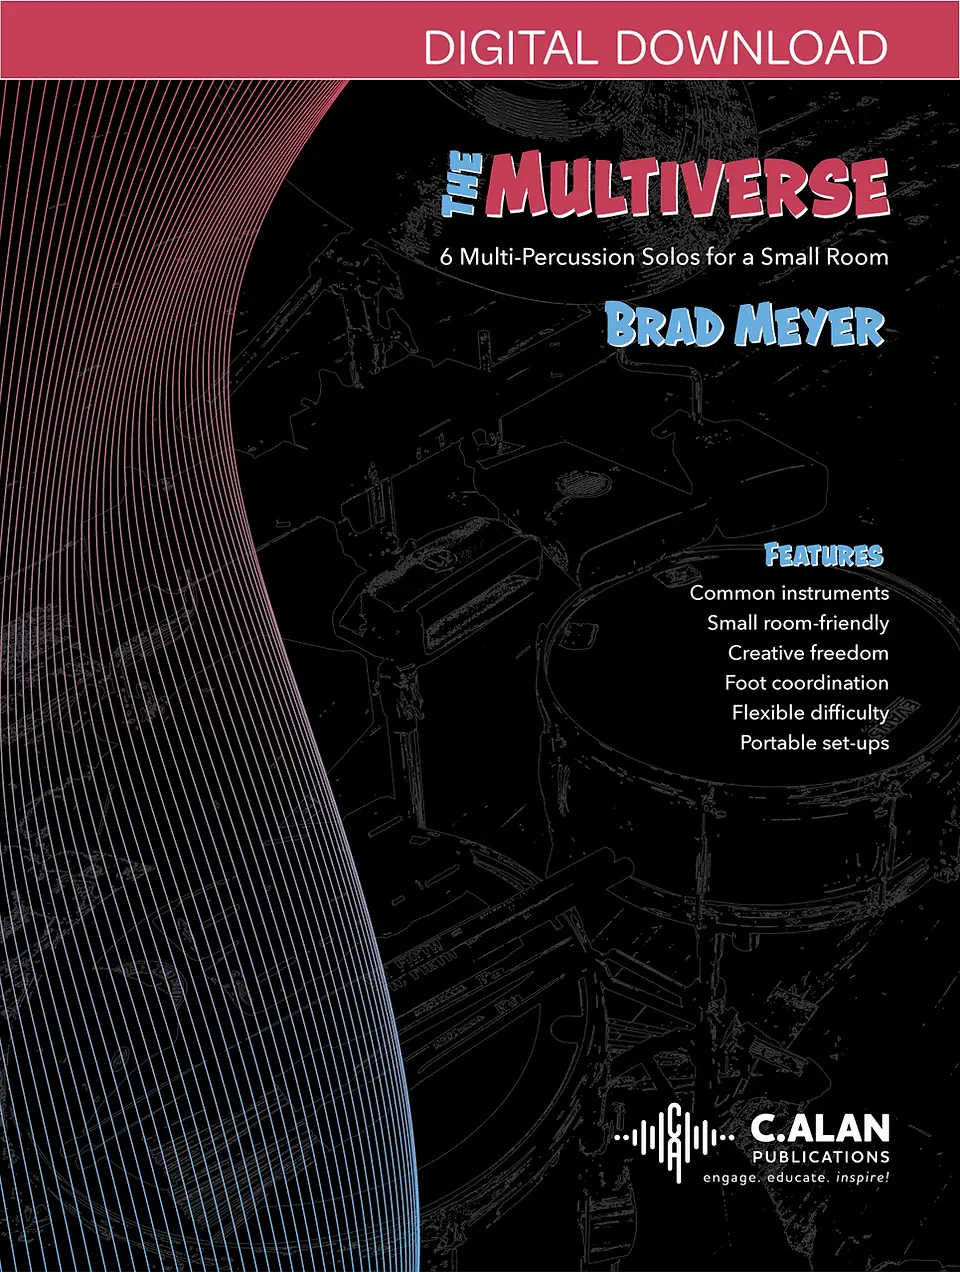
For students preparing for advanced multi-percussion literature, these exercises lay the groundwork for the exact types of independence required in Dr. Meyer's book, The Multiverse (published by Alan Publications).
Comparing Practice Approaches
Practice Method | Volume Level | Portability | Tactile Feedback | Brain Engagement |
Leg Patting | Extremely Quiet | High | Poor / Desensitizing | Low |
Full Drum Set | Very Loud | Low | Excellent | High |
Compact Accessory Setup | Low / Controllable | Medium | Excellent | High |
Gear Tour: The Compact Limb Independence Setup
Dr. Meyer’s approach relies on deliberate gear selection to maximize results in minimal space. Here is the breakdown of the gear used in this lesson and why it functions so effectively:
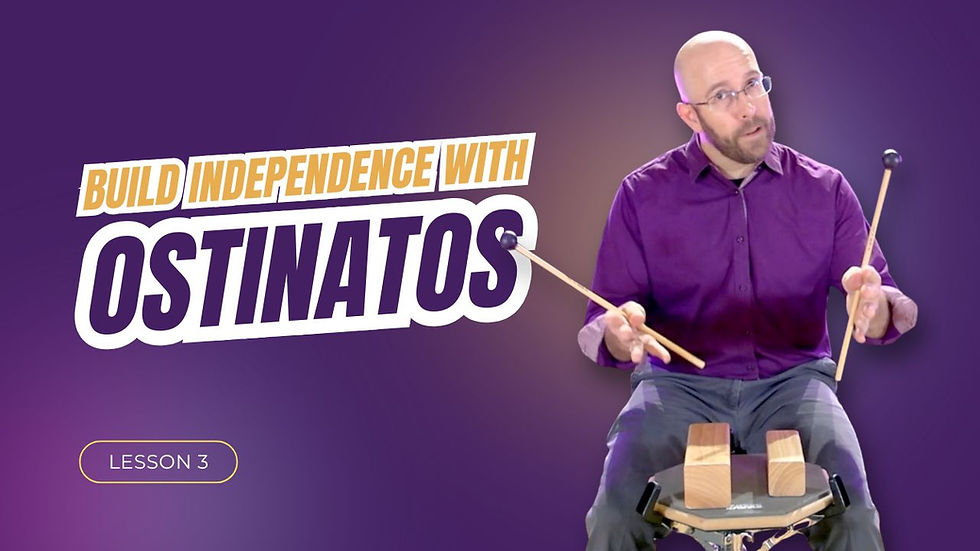
Black Swamp Overture Series Wood Blocks: These provide a clear, bright, rhythmic definition without the overwhelming volume of a snare drum. They are highly portable and cost-effective.
Foot Shaker (Right Foot): Attaches easily to your shoe to provide a soft, sustaining texture that clearly defines your pulse.
DIY Foot Tambourine (Left Foot): Created using a standard coat hanger and vintage jingles salvaged from an old, broken tambourine. By bending the wire to slip into your shoe laces, you create a distinct, crisp voice for your left foot for zero cost.
Using contrasting sound sources (wood vs. metal vs. shaker texture) helps your brain distinctively map out each limb's responsibility, accelerating the learning process.
Student Action Plan
To get the most out of this first lesson, commit to this structured practice routine over the next week:
Assemble Your Rig: Find two small contrasting sound sources for your hands and at least one low-volume sound source for your feet.
Establish the Anchor: Set a metronome and spend a few minutes playing nothing but quarter notes with your right foot. The goal is total relaxation.
Layer the Rudiments: Introduce alternating sixteenth notes with your hands. Work through four bars of singles, four bars of doubles, and four bars of paradiddles without letting your foot pulse waver.
Isolate the Weak Side: Shift the primary pulse to your left foot and repeat the process.
Analyze the Alignment: Record a 60-second video of your practice session. Listen closely to ensure your hand strikes align perfectly with your foot taps.
Next Steps in Your Rhythm Journey
True rhythmic independence is not built overnight; it is achieved through thoughtful, daily habits. By scaling down the physical size of your instrument setup, you remove the barriers to meaningful practice time.
As you work through these introductory patterns this week, pay attention to where your limbs feel tense or where your timing starts to flam. Identifying those friction points is the first step toward resolving them.
Stay tuned for episode two, where we will build on this foundation by exploring advanced soloing concepts, improvisation strategies, and marching-related coordination challenges.
New Lessons Every Friday! Sign up for the Black Swamp Newsletter.


Comments